


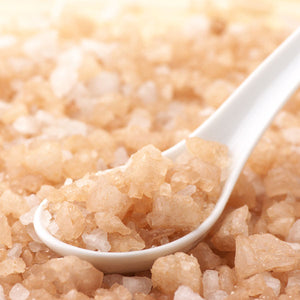
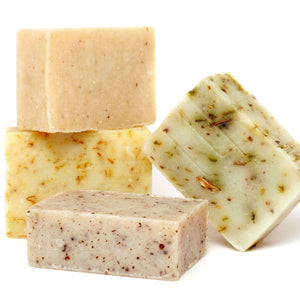


Lavender and Eucalyptus Soap Bars using Crystal Oatmeal and Shea

Here’s what you need:
- 2KG Crystal Oatmeal and Shea
- 2 x Heat Proof Containers
- Soap Loaf Mould
- Red Colourant
- Blue Colourant
- Softened/Deionized water
- Lavender Fragrance
- Eucalyptus Essential Oil
- Soap Loaf Mould
- Soap Slicer
- Lavender Buds
 Step 1
Using 2KG of Crystal Oatmeal and Shea melt and pour base, remove from packaging and slice into small meltable chunks.
 Step 2
Place the chunks into two heat proof containers and heat in one minute intervals, mixing between each interval until fully melted.
 Step 3
Now to make your Lavender purple colourant! Take your softened water and add a roughly 10ml to your glass cylinder. Using Red and Blue soap dyes, add drops of each until you get a purple you’re happy with. Don’t worry if the purple looks too dark, as we’re working with a white soap base the strength of the colour will be dependent on how much you add to the soap base so just be cautious when you’re adding your colour to the base.
 Step 4
Whilst mixing, slowly add small droplets of your purple colourant to one of your melt containers.
 Step 5
Add your Lavender Fragrance to your purple base. I used 4 – 6 droplets, Lavender is a strong fragrance so be wary not to add too much. Take your white base and add 4 - 6 droplets of Eucalyptus Essential Oil whilst stirring.
 Step 6
This part is CRITICAL! In order to achieve a nice swirl soap effect both containers must be at 60°C/140°F. If you pour too hot, the bases will merge and you will not achieve a swirl effect.
 Step 7
Once both bases are at 60°C/140°F, pour your purple lavender base about ¾ of the way to the top. Working quickly, grab your white base and slowly pour in the center of the loaf from top to bottom. After you have finished pouring both bases, sprinkle some lavender buds on top and gently press into the base.
This method can be temperamental depending on if you choose to use different bases and at what temperatures you pour at so the results may not be consistently the same every time you do it! When I finished pouring the white base I was under the impression that the swirl effect hadn’t worked. It was only after cutting through the finished loaf that I realised it was a success!


 Step 8
Leave your loaf for rough 12 hours to fully set before removing the mould.
 Step 9
Cut your soap slices to your desired size and voila! Your unique soap swirl bars are complete.


 Step 9 (optional)
To add your own personalisation to your soap bars, you can add a small band of paper to wrap around your soaps. Get creative and use classic pencils or use online tools like Canva to create your branding. Measure out your soap slices and design your branding accordingly to suit you preferences!

